How to Install Lightroom Presets
Introduction to Installing Lightroom Presets
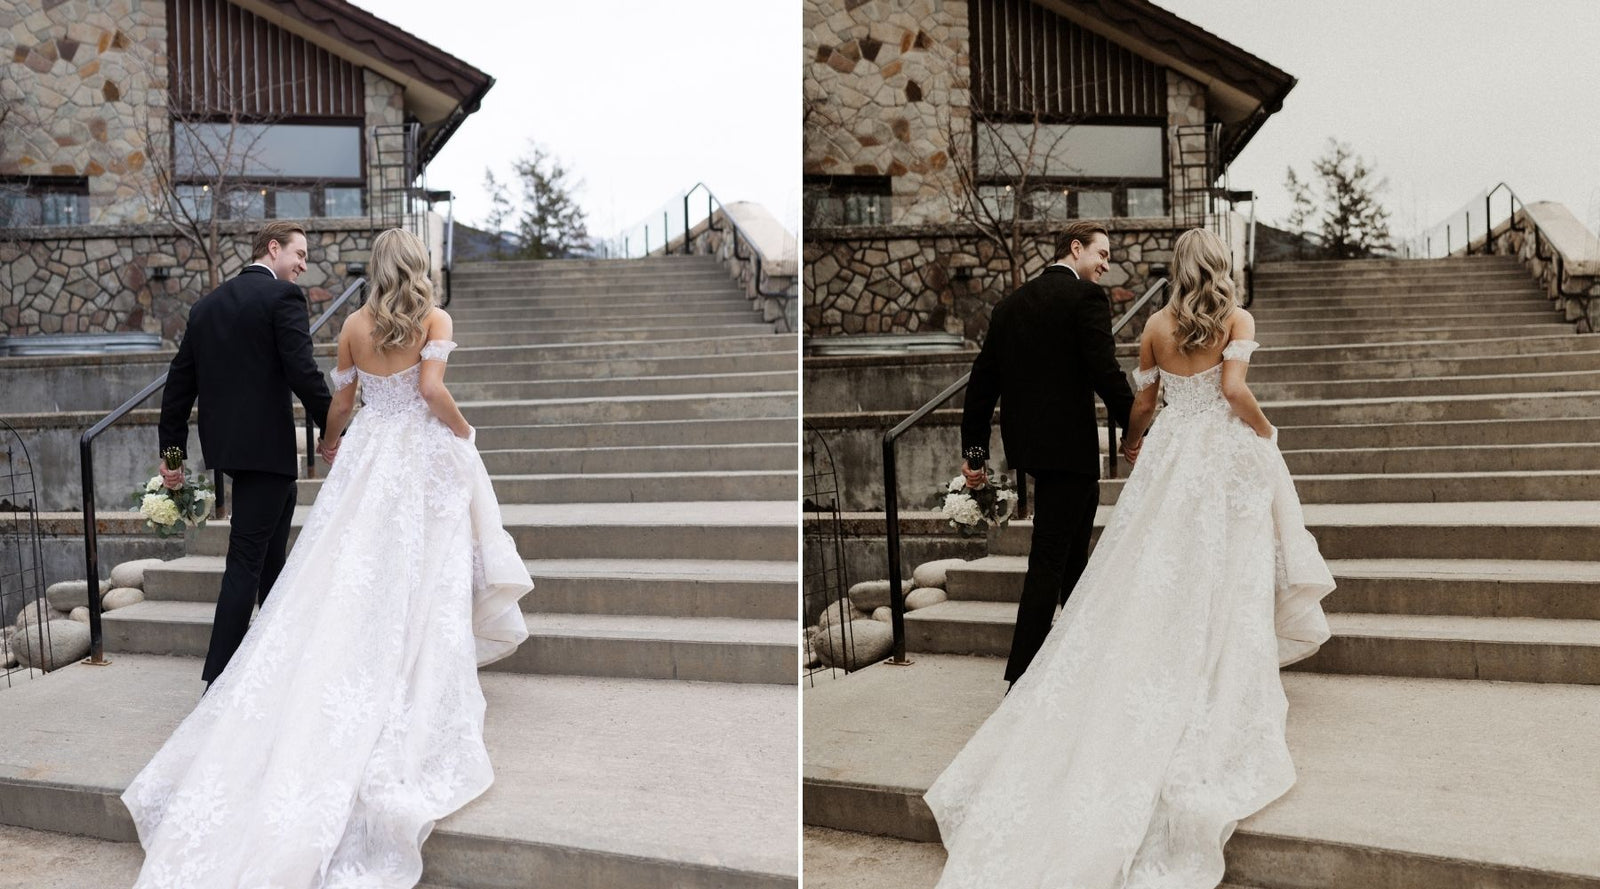
Adobe Lightroom presets can dramatically streamline your photo editing process by allowing you to apply professional-grade edits with a single click. Installing these presets is a straightforward process that can save you time and help achieve consistent results across your photos. This guide will walk you through the steps to install Lightroom presets in various versions of Adobe Lightroom.
What Are Lightroom Presets?
Lightroom presets are saved settings that adjust multiple photo editing parameters at once. They can alter everything from exposure and color balance to intricate effects like vignetting and noise reduction.
Installing Presets in Lightroom Classic
Lightroom Classic remains a favorite among professional photographers for its extensive features and local storage of images. Here’s how to install presets in this version:
Step-by-Step Guide
- Download the Preset: Ensure your preset files are downloaded to your computer. These will typically come in .XMP or .LRTEMPLATE formats.
- Open Lightroom Classic: Launch the program and go to the Develop module.
- Import the Presets: Navigate to the Presets panel on the left sidebar, right-click on any preset folder, and select 'Import Presets.'
- Choose the Preset File: Find the downloaded preset files on your computer, select them, and click 'Import.'
- Access Your New Presets: Your new presets will appear in the Presets panel under the folder you selected or under a new folder if specified during the import process.
Installing Presets in Lightroom CC (Desktop)
Lightroom CC offers a cloud-based service, making it accessible across devices. Installing presets here is also user-friendly.
Steps for Lightroom CC
- Download and Unzip: First, make sure your presets are downloaded and extracted from any ZIP files.
- Open Lightroom CC: Start the application and go to the editing section by clicking the Edit icon (three sliders).
- Open the Preset Panel: Click on the 'Presets' button at the bottom of the editing sidebar.
- Import Presets: Click on the three-dot menu at the top of the Presets panel and select 'Import Presets.'
- Select and Import: Choose the preset files you have downloaded and confirm by clicking 'Import.'
Installing Presets on Lightroom Mobile
For photographers on the go, installing presets on the Lightroom Mobile app can enhance editing directly from your smartphone.
Mobile Installation Guide
- Transfer Presets to Your Phone: Send the .DNG files (which contain the preset data) to your phone, either via email, cloud storage, or direct transfer.
- Import the DNG Files into Lightroom Mobile: Open Lightroom Mobile and import the DNG files as you would any photo.
- Create the Preset: Open the DNG file, tap on the three-dot menu in the top right, and select 'Create Preset.' Give your preset a name and save it.
- Use Your Presets: You can now apply the newly created preset to any photo within Lightroom Mobile by accessing the Presets menu during the editing process.
Tips for Managing Lightroom Presets
- Organize Presets into Folders: Keep your presets organized by categorizing them into folders within Lightroom, making them easier to navigate and use.
- Regularly Update and Backup: Keep your presets updated and backed up to avoid losing them during software updates or system changes.
- Test Presets on Various Images: To ensure versatility, test your new presets on different types of images to see how they perform under various conditions.
Conclusion
Installing Lightroom presets is a simple process that can greatly enhance your photo editing capabilities. By following these steps, you can ensure your presets are ready to use in any version of Lightroom, helping you to achieve professional-looking photos with minimal effort.
FAQs
-
Can Lightroom presets be used across all versions of Lightroom?
Yes, presets can generally be used across different versions, but you might need to convert them between .LRTEMPLATE and .XMP formats depending on the version. -
How do I convert .LRTEMPLATE files to .XMP?
When you import .LRTEMPLATE files into Lightroom Classic, the program automatically converts them to the newer .XMP format. -
Can I share my installed presets with others?
Yes, once you have presets installed, you can export them from Lightroom and share the files with others. -
What should I do if my presets do not appear after installation?
Make sure you have restarted Lightroom after installing the presets. If they still don’t appear, double-check that you have imported them into the correct folder. -
Are there any legal considerations when using downloaded presets?
Always ensure you have the right to use downloaded presets, especially if you are using them for commercial purposes. Check the license agreement provided with the presets.


![[NEW] Clean Collection Presets Mobile - bitesandtickles](http://bitesandtickles-shop.com/cdn/shop/products/new-clean-collection-presets-mobile-256234.jpg?v=1685723321&width=1000)


Leave a comment