How To Set Up Your Room For Editing
When we started to take photo editing seriously we wanted to do everything right. Soon we noticed that getting accurate colors depends on way more than just finding the right presets.
We endlessly searched for how to set up our room, what time of day to edit and more. But honestly, we couldn’t find much more than the usual tips. That’s exactly why we decided to write a blog on this topic and give you some insights on how to get the most accurate colors. We hope you can take something new out of this. Let’s get to the juicy stuff!
The right monitor & calibrating it

You probably already know this, but having the right monitor and having it calibrated makes aaaall the diffrence! We often wondered why our images looked exactly how we wanted them to look on our screen but when we posted them, the colors seemed to be different.
This is a really common issue that can’t be solved completely, because every device renders colors differently. As a rule of thumb, most people look at their instagram using apple devices, so if you have one of those, check your images on the device. This can be time consuming tho, so the best way to get colors to look as similar as they can across all screens is to get a proper editing monitor. If you have an “srgb mode” in your monitor, turn it on. Turn off any image processing like blue light filters etc. and have it calibrated. You can learn how to calibrate your monitor here.
Before editing and before calibrating, make sure to let your monitor “warm up” for 30 minutes.
If you are a perfectionist and want your monitor calibrated as good as it can be, you can also use tools like spyder, which can be quite expensive, so maybe team up with other photogs and share the calibration tool.
If your monitor does not give you any options to calibrate it or is a very old one and you are having difficulties getting the right tones, maybe think about a professional editing monitor as your next investment.
If you are using a macbook, just calibrate it using this guide and you are all set.
The right time of day

Ok this is HUGE!
We noticed our images look completely different if we look at them during different times of the day. Especially if we edited them during sunset and blue hour and then came back to look at them mid day.
The reason behind this is that our eyes perceive color differently depending on the light. When we edit during sunset, our room is filled with orange light and we might think colors on our screen are too cold when they are already warm enough and the opposite is true during blue hour. So our recommendation would be not to edit during those times if possible.
Oh and if you have one of the newer macbooks… they come with a feature that changes the display color according to the surrounding light which is the main reason we got ourselves one. BUT this is just a gimmick that DOES NOT WORK! As soon as you are approaching sunset, a.k.a the time when you need the feature the most, the screen just goes crazy shifting from green to magenta. So if you have that “feature”, turn it off. What a waste… it iiis what it is.
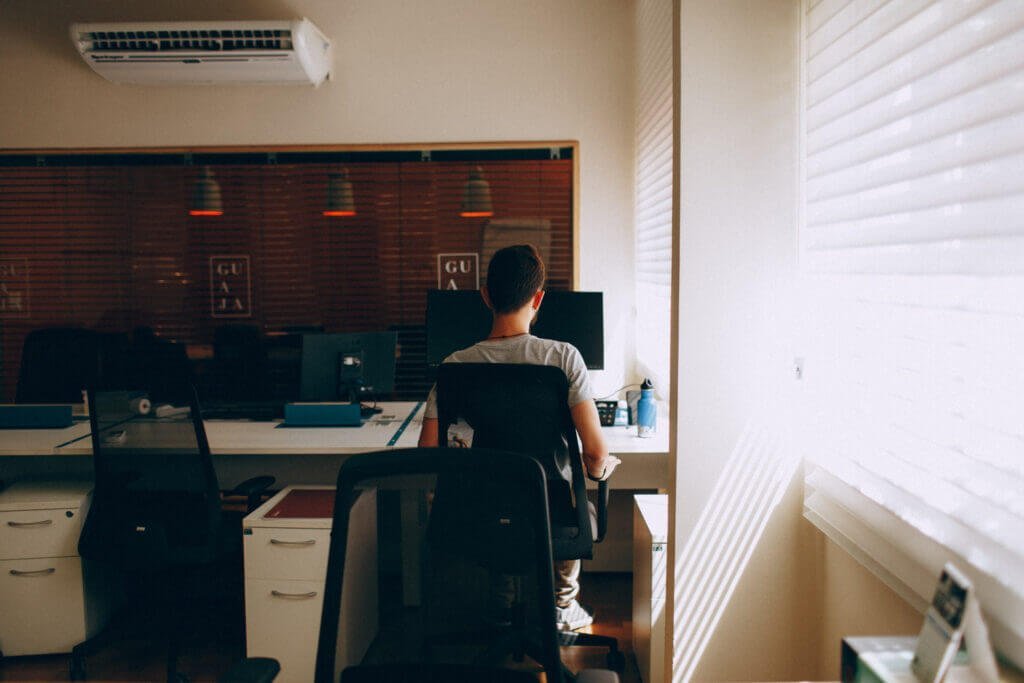
Setting up your room
This is an important step that is often overlooked.
If you have a window right behind your screen, you can’t see the colors accurately and might even get a headache. If you got a window directly behind you, the reflection might be annoying and the light falling directly onto the monitor might change your color perception. (Which is why professional editing monitors have boxes around them to block the light).
So the best would be having a window that is neither behind nor in front of you.
Close your blinds!

This is really important to even out the light in your room. That way, you can see colors more accurately and your eyes won’t get tired as fast. Have your monitor just a little bit brighter than the room.
Turn off artificial light

This depends on your light source. We got really warm light bulbs to make our home cozy. In turn, we can never edit with those lights on. Unless you have a daylight lamp (somewhere around 5500 kelvin), turn your lights off so it won’t decieve your color perception while editing your images.
Stay away from colored walls
You know how photos can have that disgusting green color cast when the sun is blasting on the grass and the grandma tells you to take group photos right on that spot. Everyone hates this!
The same counts for editing! If you have colored walls, try to stay away from them or atleast do not have your screen turned towards them so they don’t reflect colored light onto it.
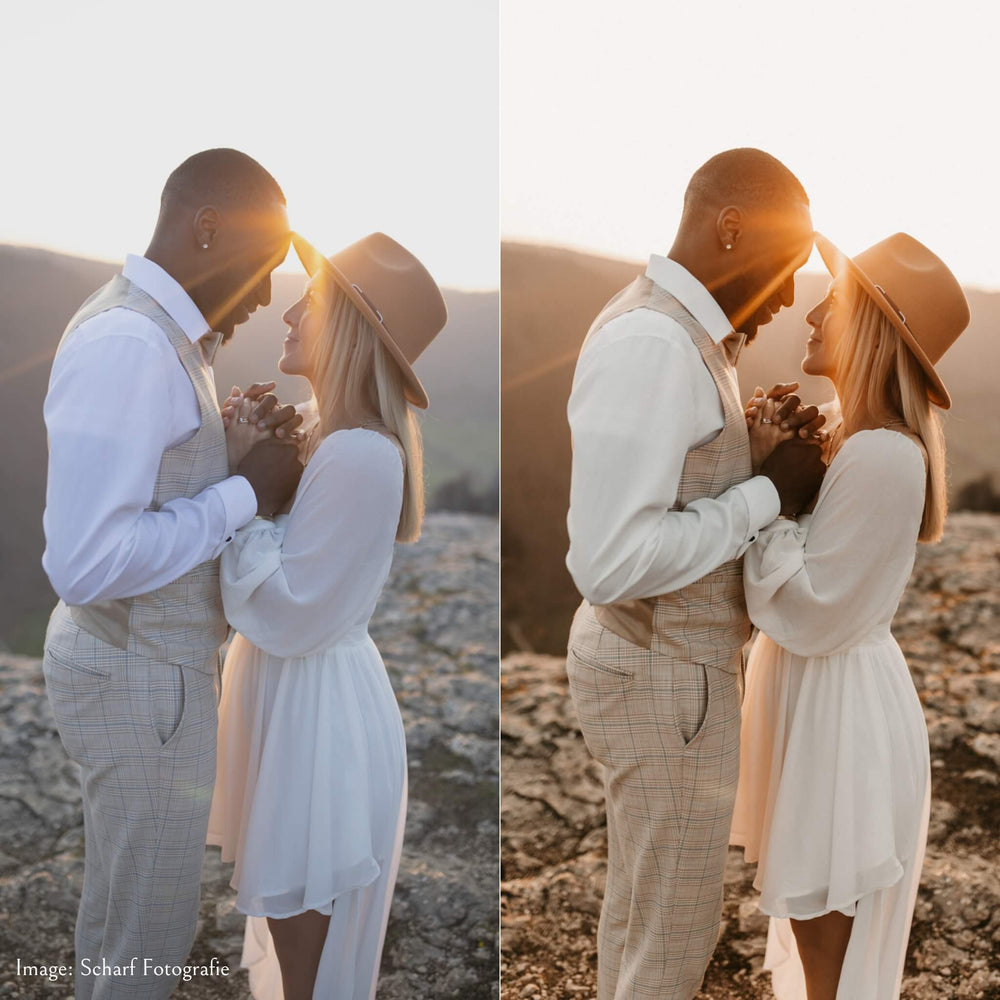
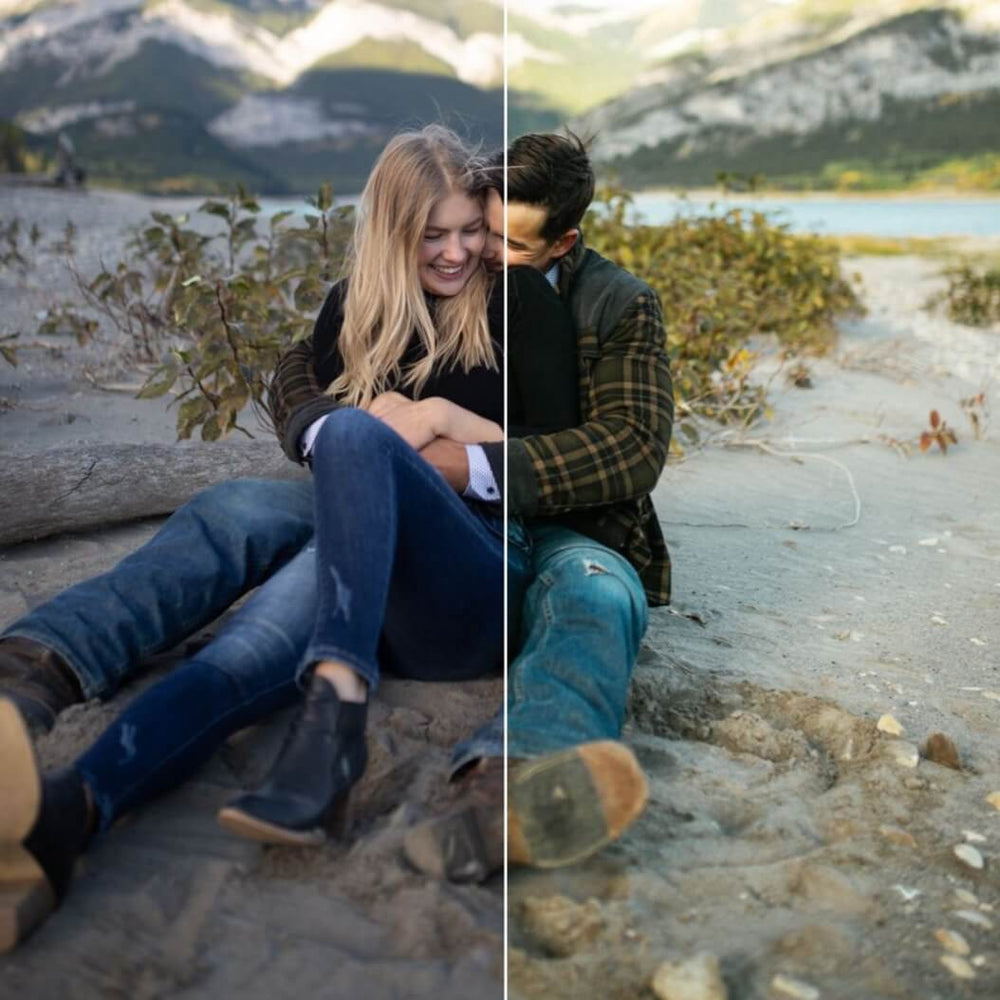
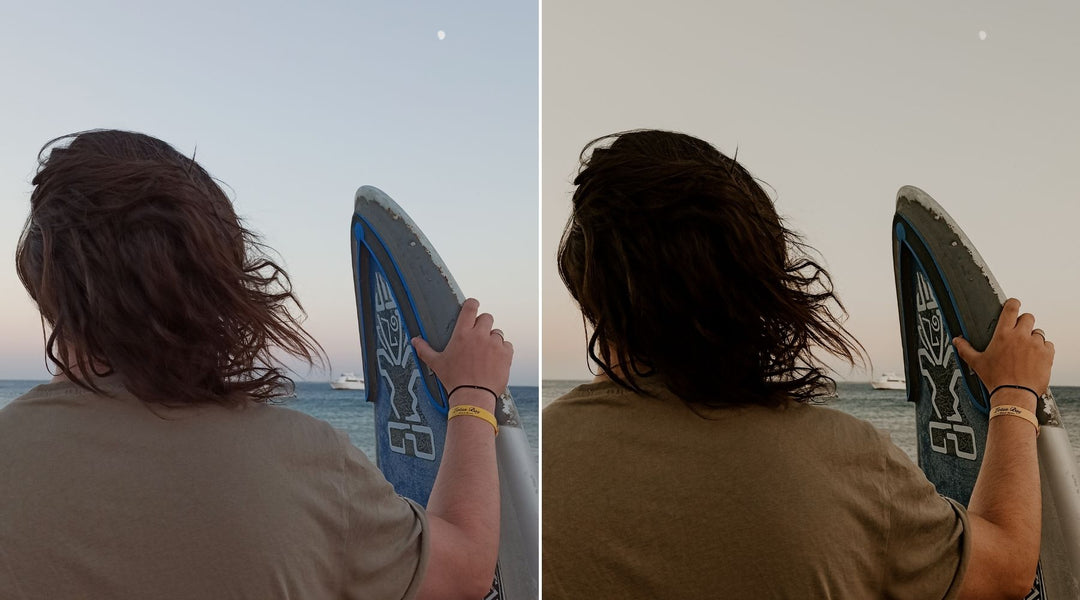
Once your environment is optimized, you’ll see the true potential of your edits — especially with warm-toned Lightroom presets designed to reflect film-like aesthetics.
Check your work on a different time and day
While it’s not always possible and we sometimes need to deliver galleries fast, checking your work on a different time and day can make a big difference. You may look at it with fresh eyes and can judge the colors better. If you can’t wait a day, maybe take a walk every two hours or go in another room and look out of the window into the distance. This will relax and reset your eyes. We been there, doing a 5 hour editing marathon and experienced our judgement of colors going downhill. So grab a coffee and enjoy your well deserved break, you earned this!
That’s all we learned during our years editing weddings. We hope this answered some of your questions (if you had any). Let us know in the comments if there is something you do that we didn’t discuss and if this article was helpful to you!
Cheers,
Maja & Alex | Bitesandtickles


![[NEW] Clean Collection Presets Mobile - bitesandtickles](http://bitesandtickles-shop.com/cdn/shop/products/new-clean-collection-presets-mobile-256234.jpg?v=1685723321&width=1000)


Nice article however the link to calibrating your MacBook Pro takes you to how to calibrate in windows 10 :)
Leave a comment